Lighting
As a result of what I wanted to do with lighting in this scene, it has perhaps been as much an exercise in optimization as it has in art. Each cage has a point light, and each sentinel has an area light (more efficient than an array of point lights because of adaptive sampling). With so many light sources involved, the render time for the scene is controlled through the use of nested light group statements to allow most lights to affect the terrain while minimizing the interaction between the objects with light sources. Light groups weren't exactly designed for controlling the render time, since you can't get all possible relationships (for example, light B affects objects A and B, but not C, light C affects objects A and C, but not B), but what I could do was sufficient for this scene.
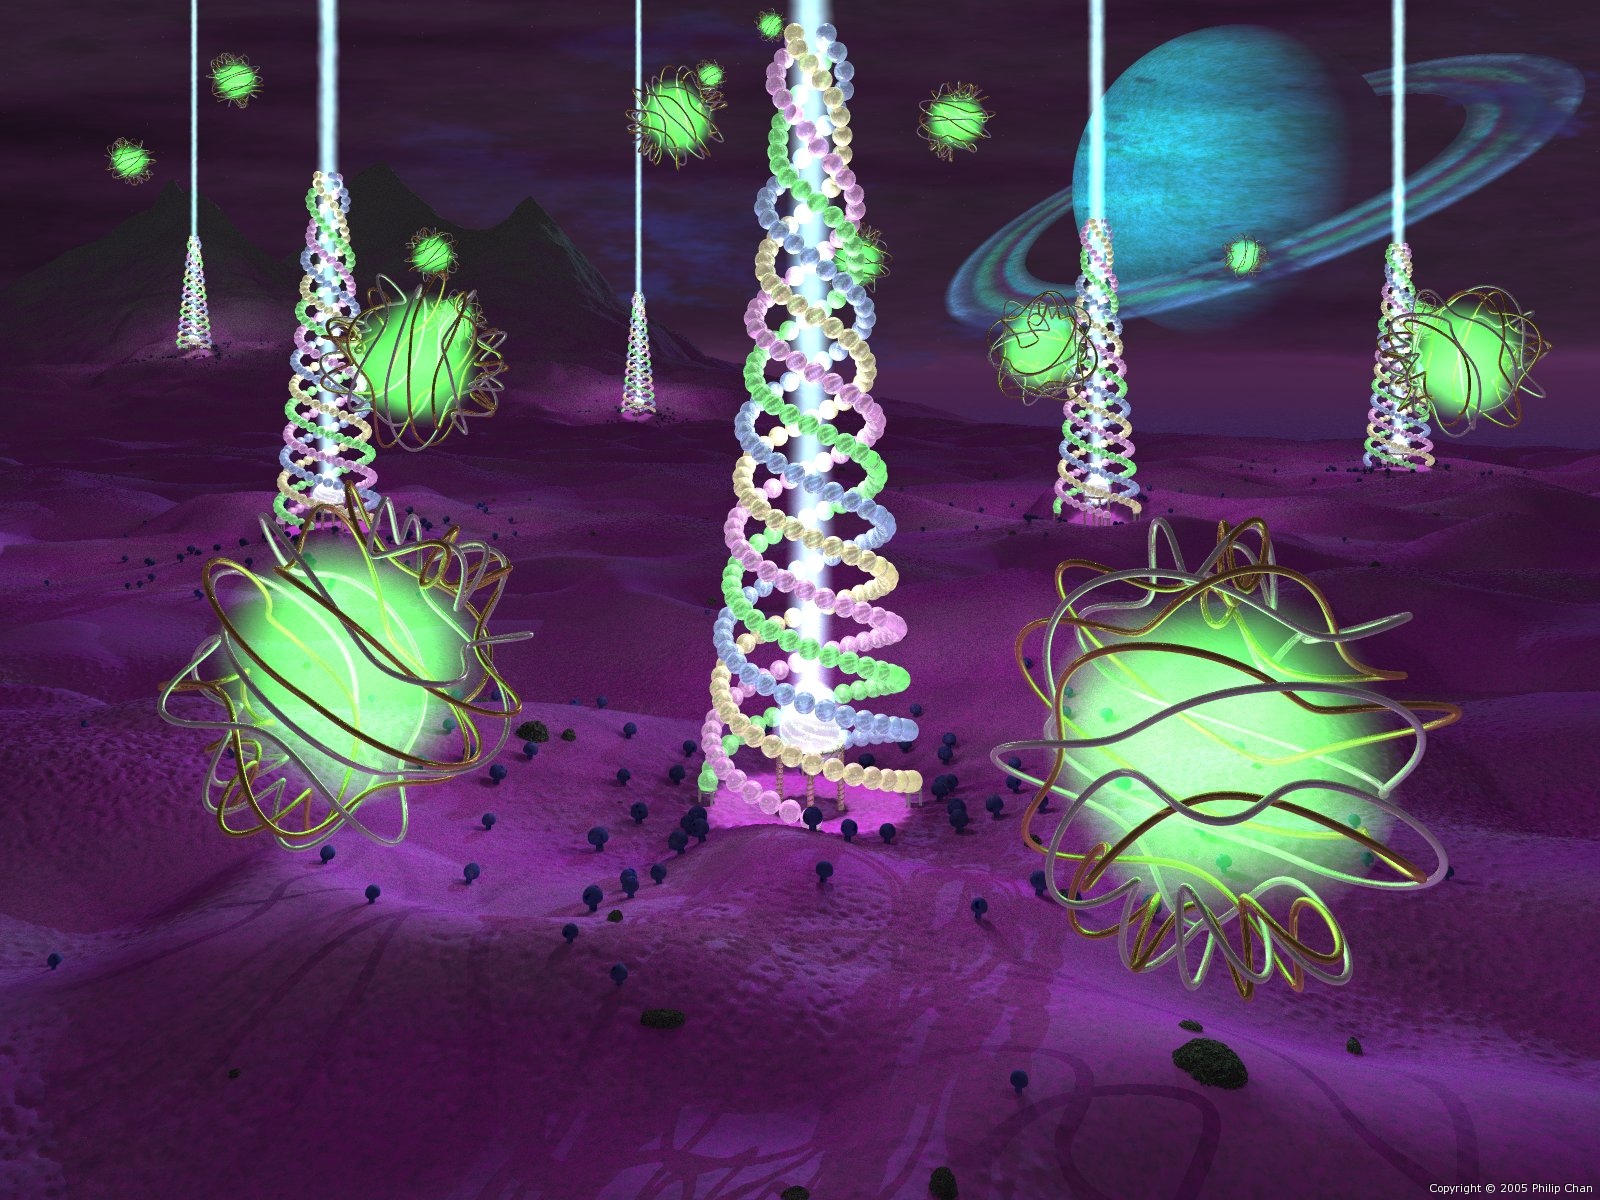
Terrain
The height field used for the terrain is created entirely in POV-Ray, using a 3 layer texture to generate the basic landscape. The base texture gives the rolling hills prevalent in the foreground. The second creates the bumps on the surface. Finally, the third is a gradient texture, that gradually merges the rolling hills in the foreground to the rougher terrain further back.
This base landscape is then terraformed by placing discs above the plane with the height field texture. These discs fade from transparent at the edges to opaque in the centre, allowing the mountains and the depression for the water to blend with the existing terrain.
The use of the mountains, water, and ground fog makes the transition from terrain to sky much better, as the "end" of the height field is much less obvious.
Much experimentation was done for the texture used with the height field, since this had a significant affect on the render time (probably because it covers a large portion of the image and is affected by so many light sources). A slope pattern with a texture map was tried initially, but I found I could get similar results with a fairly simple fading texture layered over a simple gradient y texture and have it render faster
Background
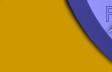
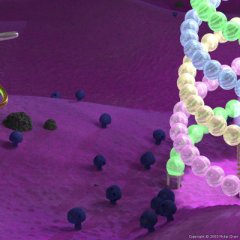
Much of the background was created prior to the contest, while I was working on another of my projects. While it may not be apparent from the image, the most important component of the background is probably the highly turbulent scattering atmospheric media. It is this media that makes the cloud layers and the rings on the planet seem more detailed than they really are, and entirely creates the texture on the planet, which would otherwise appear as a cyan sphere. The two cloud layers are sections of vertical planes, with filtering/transparent textures.
The star field, added to the background in this image, is also textured on a vertical plane. A plane was used instead of a sky sphere because the atmospheric media would otherwise have completely obscured the stars. Since the star field plane is actually in front of the planet (to minimized the effect of the media), a section is cut out of this plane so stars do not appear in front of the planet.
Crystal Sentinels
The spirals are made of a series of spheres which are just touching each other. Rather than explicitly computing the location of each sphere, the location of a sphere is found based on a series of rotations relative to the previous sphere:
1. Rotate the previous sphere about the centre axis of the spiral (y-axis) so that the two spheres just touch.
2. Compute the vector from the previous sphere to the new sphere (To_Next).
3. Rotate To_Next about the y-axis to move the new sphere in toward the centre of the spiral.
4. Generate a vector perpendicular to To_Next and the y-axis by rotating To_Next about the y-axis.
5. Rotate To_Next about this vector by an amount proportional to the angle of the rotation in step 1 to give the appearance of evenly spaced spheres along the y-axis.
The loop is terminated when one of three conditions is met: the radius of the spiral is less than some specified multiple of the radius of the spheres, a specified number of spheres is placed, or the angle of rotation in step 5 exceeds a specified threshold.
Nothing two special with the media effects: a cylindrical density for the beam and a spherical density for the glow at the source. Both use a very low intervals count as it renders faster and still looks fine.
Each spiral uses an adaptive area light (faster than a bunch of point lights), and the spirals are placed in a series of nested light groups so that each light affects the terrain and spirals placed after it. I had originally wanted to have caustics (either photons or just with dispersion), but because of the render times involved I gave up on this pretty quickly.
The spirals are placed on the height field using the trace macro to determine the height at each of the "starting points" for the 4 spirals, and in the centre, and taking the maximum value.
The architectural field camera was used so the spirals appear straight, instead of "leaning" because of perspective.
Floating cages
The cages are built using sphere_sweep objects. Each sweep (gold and silver) describes a two dimensional Lissajous figure, with a phase difference between the two so they (hopefully) do not overlap. The two dimensional Lissajous figure is then wrapped as a spiral around a sphere to give the final shape (not the same as a 3D Lissajous figure, which would go through the centre of the sphere).
The cages are placed randomly (except for the two in the front) with some primitive collision detection. The distance from the centre of each cage is checked against three values: the distance to the ground in the -y direction, the distance to the y-axis of the spirals, and the distance to the centre of another cage (the accepted cage locations are stored in an array as they are generated).
The randomly placed cages are placed in light groups to isolate the light source in each cage from the rest of the scene and speed up the render time considerably. The cages that were placed manually are close enough to the ground that they should affect the terrain, and thus are part of the larger light group structure used to control the render time.
Rocks
Isosurface rocks, based on ones used in another of my projects, with the scaling of some of the functions modified for this image. The size/shape parameters of each rock are randomly generated as they are place.
The location of each rock is generated randomly by generating a random distance and rotation angle to minimize the number of rocks placed outside the camera's view. The exact location is computed using the trace macro, and the slope and proximity to a spiral are both checked before placing the rock. There is no collision detection between rocks as it did not appear to be necessary.
Mushrooms
The mushrooms consist of a cone for the stem and a blob object for the top which consists of two main components and 5 random components to distort the shape. Since the mushroom is implemented as a macro, the shape of each mushroom is slightly different.
The mushrooms are randomly placed around the spirals so that they are larger and more dense near the spirals. This is done by generating the location of the mushroom as a distance and rotation angle around the centre of a spiral. The random size of the mushroom is computed based on the distance, and is only placed if a second random distance is greater than the first, so that the probability a mushroom will be placed is inversely proportional to the distance from the spiral. Before placing a mushroom, checks are made on the slope (hence no mushrooms on the mountainside) as well as the distance to rocks and other mushrooms around the same spiral to avoid collisions.