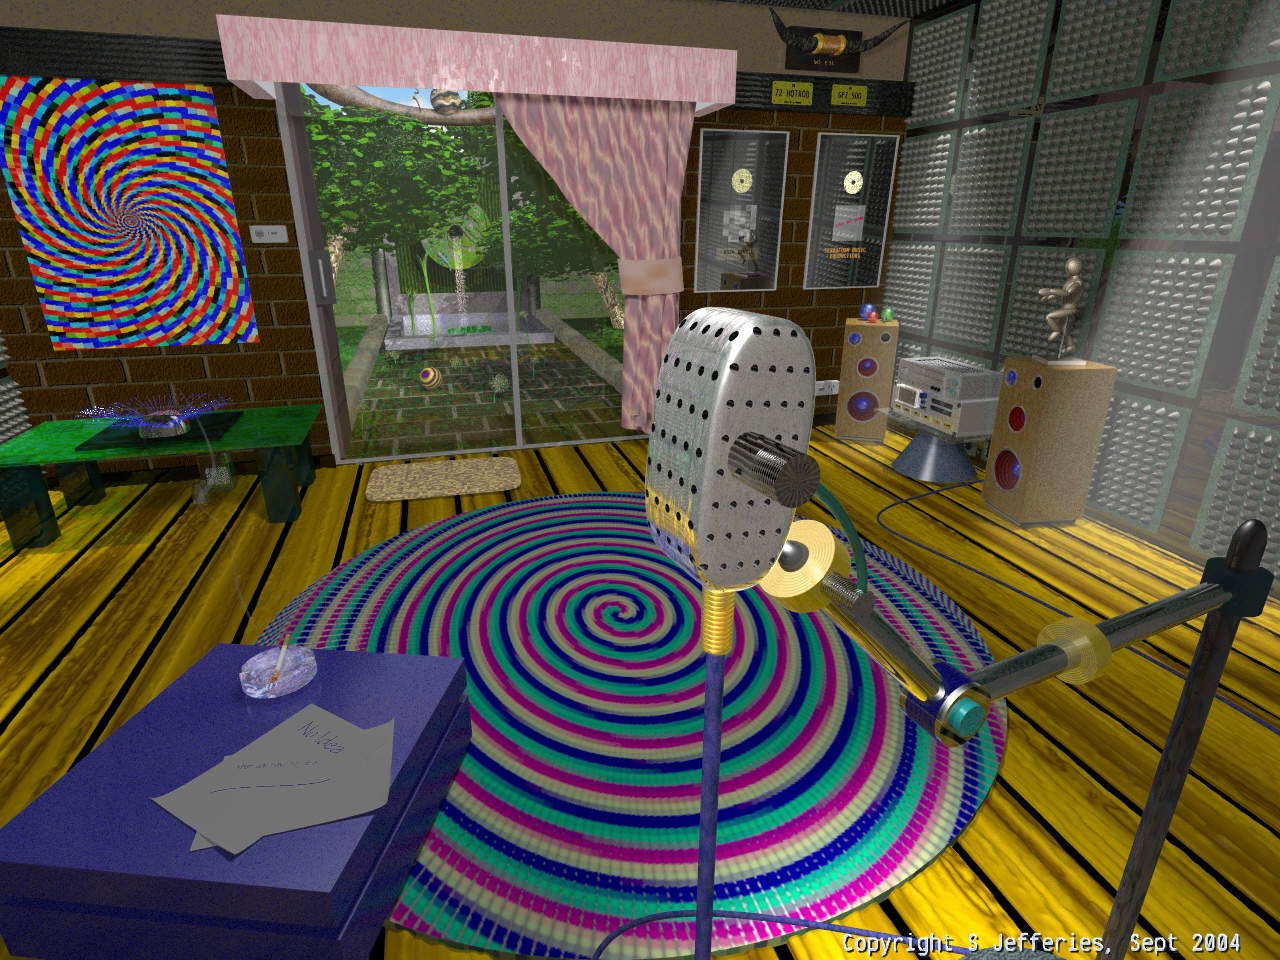
This image was created with pov 3.6 only.and all the textures (apart from some bump maps as mentioned later) objects and scene design were done internally during the conntest.
the only objects not written during the competition were the gecko and floor mat.
IN TO DETAIL
I started by building the room to establish the boundries for the main scene area .At this stage the door outside was not there and wasnt added untill I knew I would have time to build a nice scene for outside.
Next the sound proofing was added to the panels to add some interst to the background. these are cones placed apon a thin box colored in a copper texture.
now i wanted to add some interest to the floor by adding some textured floor boards. I did this by averaging a wood pattern and a marble pattern on a box
This was then rendered at the same resolution as the final image to create a height feild that would be used to create the floor. I then placed a box under the floor and raised it to make the black tar in the gaps.
The boards were then colored with the same floor rendered in color so the color matched the wood lines,and so there was no repeat in the pattern.
Now i added the roof which is the same as the walls.
The next thing I built was the microphone starting from the ground and working up to the head and cable.
The head has several layered textures to create the polished aluminium look complete with scratch marks. The holes are a series of unioned cylinders that were then used as a difference to cut out the holes.
A second super elipsoide was placed inside the head to stop light reflecting though as the inside texture is also reflective.
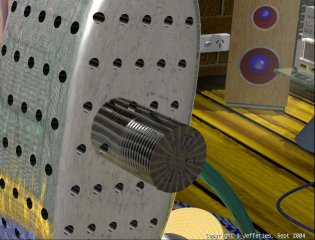
The handles on either side are supported by a cylinder which has been textured with a wood normal and a radial normal spun around to create the effect that it was machined from stainless stel before being polished to a mirror finish.
The cubic spline handles run to the chrome look stand which was made from some cylinders.
The rings on the stand were also treated to the achined etel look.
the cablespline was built but would have to be adjusted to fit the scene later.
The gold end on the microphone is a series of tori finished in a layered texture. The whole object was then inclosed in a union so it could be used as an object in the main scene easily
The rug on the floor was actually fairlly easy to build but did take a few steps.
I wrote a short script to spiral a series of blocks and change their colors at the same time and then played with the settings to get a nice look.
A render in color was then produced with the lighting set fairly bright to reduce the contrast and shadows so it would appear A little blurry.
This was then used in an include file to create a hieght feild which was clipped by a csg intersection to make it oval.The scale of the height feild was tweaked to make it appear like it is woven.
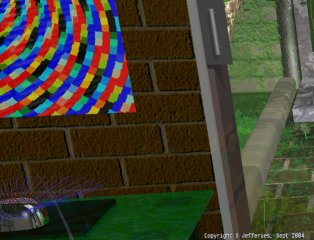
The wall picture and cds were then made to place in the scene.
The picture is similar to the rug put is just image apped not bump mapped.
It was rendered at the same size as the main image to hold up to detailed exaination.
More furniture was now made including the green table and the speakers.
the table is some boxes with the top finished in translucent green. I kept the normal and layering effects to a minimum as Its eant to look like an aycrilic top.
the speakers are also CSG objects and were written as an include file.
They consist of a cone difference with a sphere inside it to create the speakerand a torus to add the edge at the front.
This was repeated to add more cones.
a second box was used to add the base for the stand.
The UFO optic fibre light was next and took some time to get right.
Its a series of transparent and reflective sphere sweeps, the ambient level has been turned up as well and the color is fairly high.
The ashtray and cigarette were now added as well as the bottle under the table to add some life to the picture.
The smoke is a semi transparent sweep that was scaled to look right.
The ember ambience is brighter then the rest oof the smoke to make it apper to glow. the ashtray is a differenced cylinder (using more cylinders.)
The amplifier and tape deck were now made in a similar way to the speakers but with a lot more parts and intersections.
The texturing is differnt from the microphone as it was written for these objects to make them look slightly diffrent.
The top of theunit has a cut out to resemble an air event.
Now the door was added and I started to build the outside.
OUTSIDE
The path and grass were buil next. with several pigment layers used to create a depth to the grass.
A height feild was also used in a filtered coloring to add some height near the tress and wall and create the oss on the path.
The dandilions in the path are made with sphere sweeps rotated around the center in an include file using a while loop.
the leaves are intersected triangles to create the rounded edges.
the wall and path edge are super ellipsoides placed using while loops and unions.
The Ivy on the wall is the same height feild but with the coloring changed as the grass. This was done to save memory and speed up parse time.
The water fall and arch above was ade next.
The back plate and arch are simple CSG, The front `millstone` was cut out on the front using a height feild that was made using a render in grey scale of a wrinkles pattern.
The difference was don with different colors on the surfaces to create the moss and more colors were added to add more depth to the effect.
The pond was added and the sweep reeds were created to place in the scence,
The lillys in the base are cut ouut cylinders to createthin walls.
The water fall is made from an isosurface and some spheres to add the splashs to it.
the gecko on the front is a blob object which was scaled to fit in the scene and colored as not to stand out too much.
The ball and dragon flys above the arch were added towards the end.
The dragonflys are sphere sweeps, spheres with some triangles and disks for the wings.
THE TREES
The hardest part to get right, (and this was why it was left to the very end)
was always going to be the trees.
The trunks are sphere sweeps with several textures and normals to create the paper bark look. T he tops are a series of three heght feilds rotated 90 deg. and three isosurfaces. The isosurfaces are all different sizes each smaller then the other to add depth to the center of the tree, Then i took the same height feild used for the grass and wall and went to work cutting it up.
Firstly i took a box and sliced the plane though the x-y plane to create a swiss cheese look with holes all over it.
this would help it blend in by allowing the isosurface to be seen though it.
the edge of the height feild was now clipped off using spheres to create a sort of odd CLUB shape and was the rotated 120 deg, to create a sort of illusion o depth with out the need to have a true three dimensional object.(further speeding the render time.
The top edge was tweaked to help blend it the top of the isosurface.
The free was now scaled and transformed to look diffrent and placed around the garden on varing angles to add to their indiviual character.
The textures were now fixed to look better in the scene as they are lso include files.
actually the whole scene was worked on in two instants of pov at the same time with the objects being moved between two `virtual studios` one without media, reduced lighting and the height feilds and isosurfaces removed to speed up the design stage.
And one with a higher resolution and more effects turned on to see what it looked like in the main image.
As objects were finished they were moved into the scenes Main body.
The Media and lights were added to another include the scene colud be run to check textures etc without getting too slow, As some of the test renders were of small sections of a 6000-4000 image.(to make sure they looked good)
The detail sections have no anti alias due to the fact I ran out of time.